The setup wizard, step by step
Every screen of the blueprint wizard — identity, hours, location, AI personality, crew, invoicing, and working the pricing book — explained field by field.
about 15 minutes
The setup wizard is where Flovato learns your business. You reach it by picking a trade blueprint — from the dashboard's "Browse blueprints" button, from "Add a feature" at the top of My business, or from Blueprints in the setup area. A blueprint is a pre-configured setup for your line of work: it decides which features get installed, what your starter price list looks like, and how your calendar and dashboard are tuned.
Two things to know before you start. First, nothing is installed until the final review step — you can close the wizard at any point and nothing has changed. Second, nothing you enter here is permanent: every answer can be changed later from My business, and the wizard tells you where as you go. Treat it as a fast first pass, not a commitment.
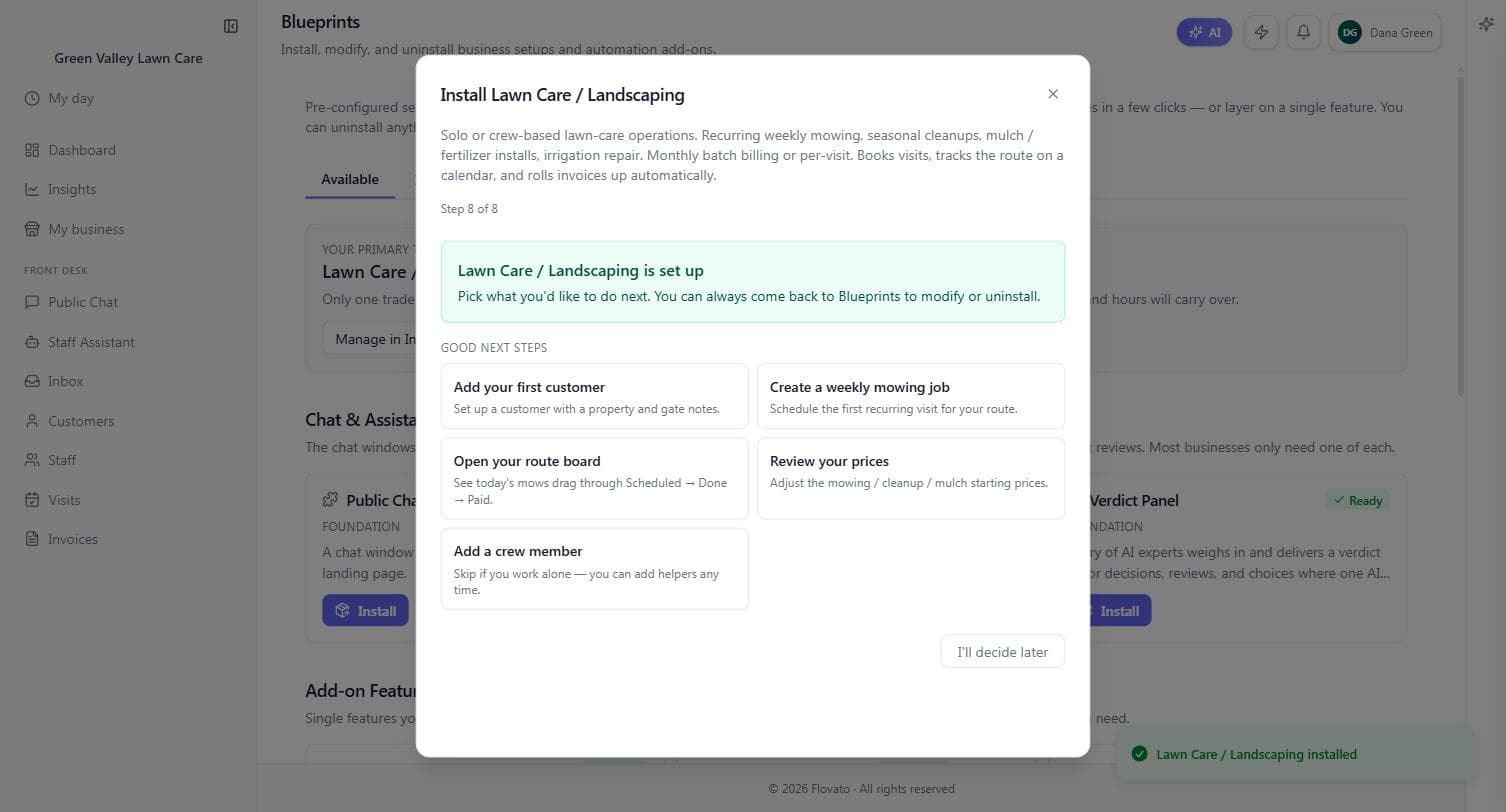
Pick your trade
The wizard starts by asking what kind of business you're running. Pick the closest match — Lawn Care / Landscaping, HVAC Contractor, Plumbing Contractor, Handyman, Remodeling & General Contracting, or Other / General Service Business.
Don't overthink an imperfect fit. The blueprint gets the big pieces right for your trade (booking types, price categories, dashboard cards), and everything it sets up can be renamed, re-priced, or switched off afterward. If nothing matches, "Other / General Service Business" starts you with neutral naming and the same core features: customer chat, scheduling, jobs, a price book, and invoices.
Green Valley Lawn Care picked Lawn Care / Landscaping. That one choice pre-loaded weekly mowing, cleanups, mulch, and fertilizer into its price book.
Step 1 of 8 — Business identity
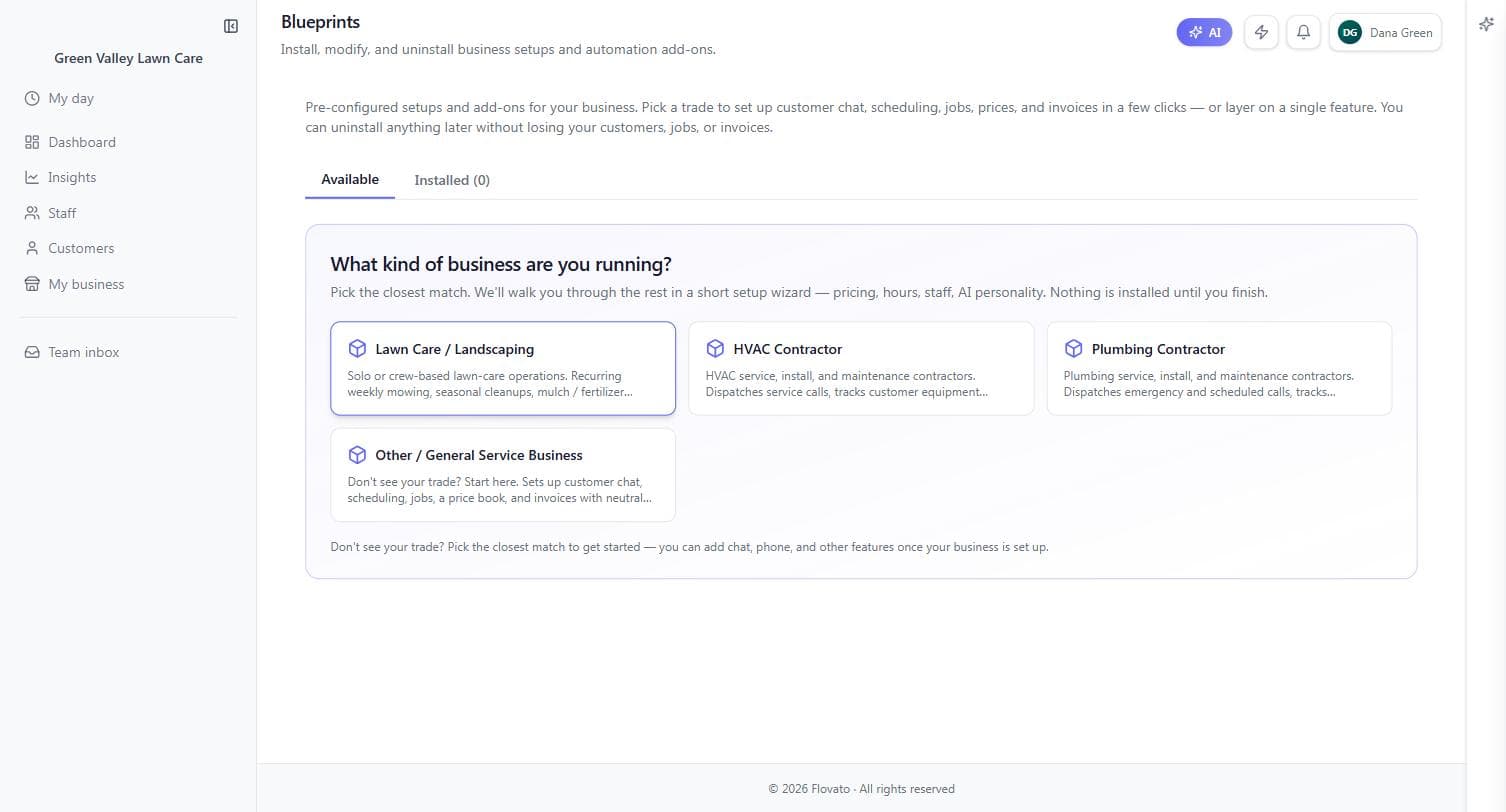
This is how your business introduces itself to customers, so every field here is customer-facing.
Business name is the only required field — it appears in chat, on invoices, and on your public booking page. The tagline is a short slogan shown on your chat welcome screen and invoices; skip it if nothing comes to mind. The short description is one or two sentences about what you do and where — your AI uses it to frame greetings and answers, so a specific sentence ("weekly mowing and cleanups around Latrobe") beats a generic one. There's an "Improve with AI" button next to it if you'd rather write a rough draft and let Flovato polish it.
Below those, the notification email and phone are for you, not customers — that's where booking alerts and new-lead notifications go.
Change any of this later from My business → General → Brand. The wizard is just the fast path.
Green Valley entered the tagline "Your neighborhood lawn care crew" and the description "Weekly mowing, seasonal cleanups, and mulch installs for homes around Latrobe. Family-run since 2019."
Step 2 of 8 — Your business hours
Hours matter more than any other field in the wizard: they control when customers can book, what your chat says about availability, and how "open now / closed" reads on your page.
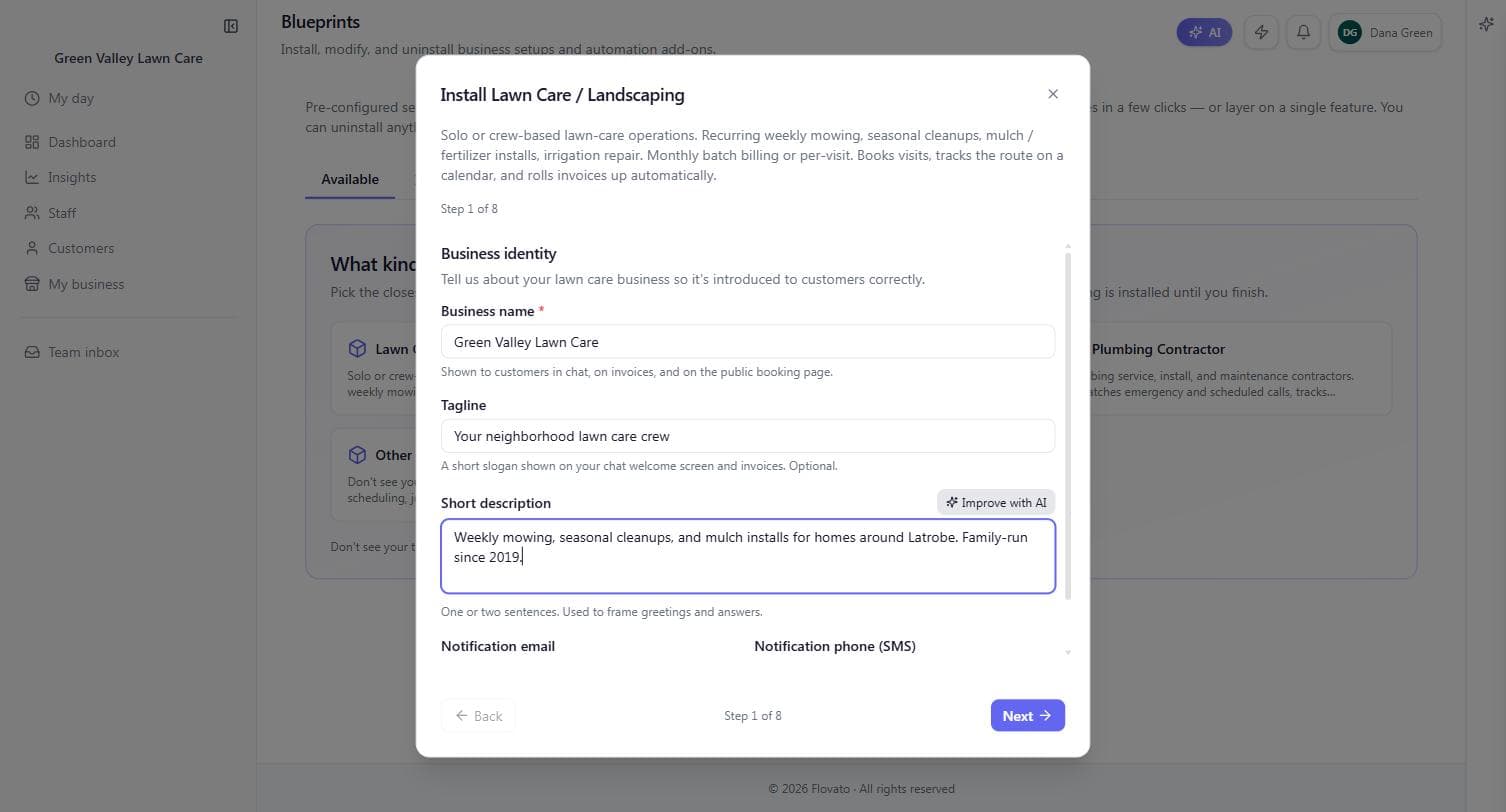
Set your timezone first — every time you see anywhere in Flovato is in your business timezone, so a wrong zone shifts everything. Then work the weekly grid: each day has open and close times plus a "Closed" checkbox. Click into a time to edit it — the field is segmented, so you set the hour, minutes, and AM/PM separately.
Below the weekly grid is Holidays & closures. Add specific dates you're fully closed and bookings won't be offered on those dates; the "Load US holidays" button starts you from the federal list so you only remove the ones you stay open for.
Hours live in My business → General → Hours after setup — and every location uses these unless you give it custom hours on the next step.
Green Valley kept the weekday default (Monday–Friday 9–5) and opened Saturday 9:00 AM–1:00 PM. That Saturday window is exactly what its chat offers when a customer asks to book a weekend visit.
Step 3 of 8 — Where you operate
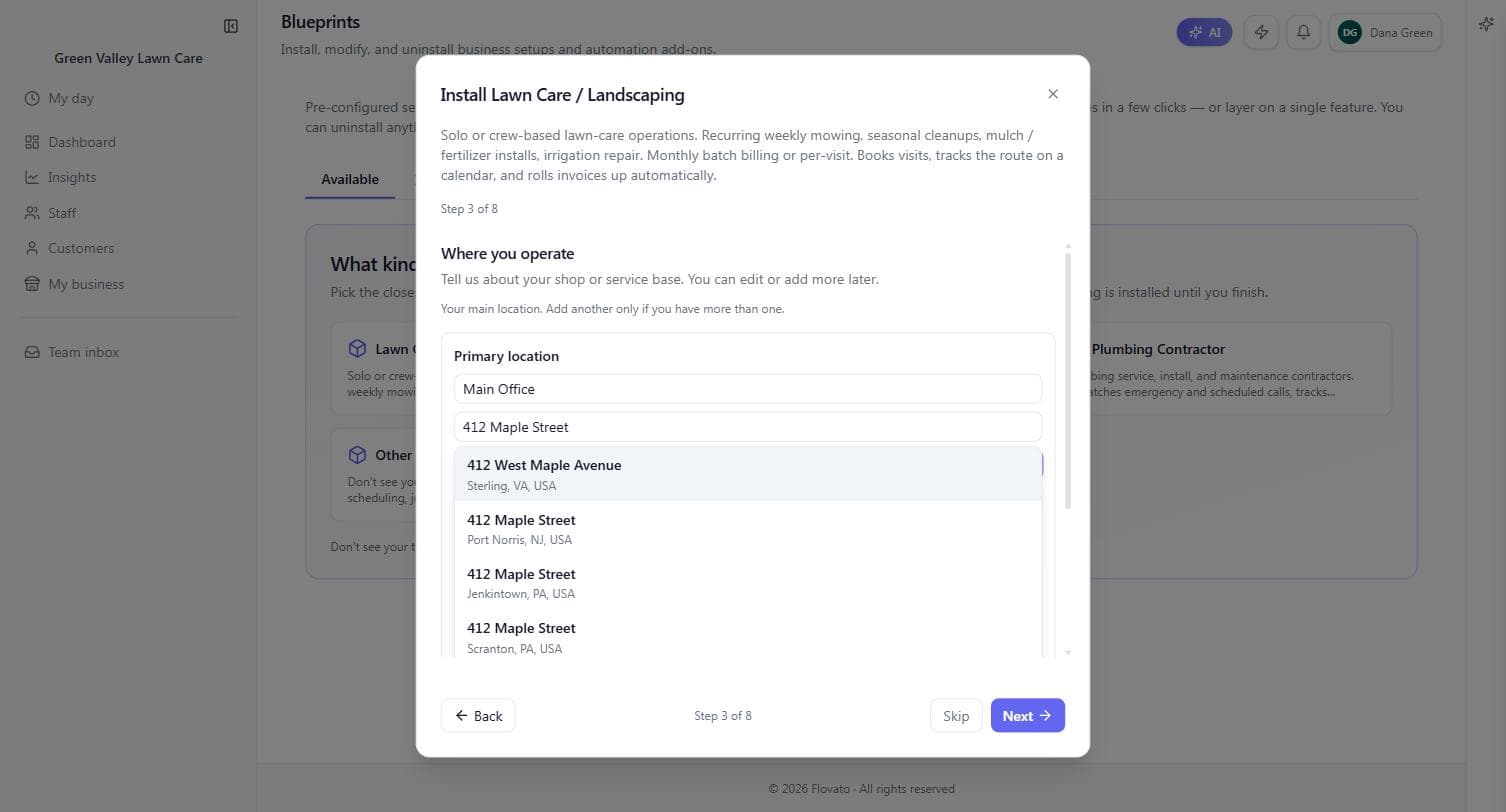
Flovato asks for your main location — your shop or service base. Give it a name (the default "Main Office" is fine), then start typing the street address and pick from the suggestions that appear; city, state, and ZIP fill from your selection. The phone field is optional.
The Service area section below is worth a minute if you don't travel unlimited distances. You can bound it three ways, alone or combined: a radius in miles, drive minutes, or an explicit list of ZIP codes. Leave everything blank and your service area is unlimited. Your AI uses this when customers ask "do you serve my area?"
One location is right for most businesses — a second one only makes sense if you genuinely dispatch from two bases. Add more later under My business → Locations.
Green Valley set its base at 412 Maple Street in Latrobe with a 20-mile service radius — so a visitor three towns over gets a straight answer instead of a wasted phone call.
Step 4 of 8 — How your AI sounds
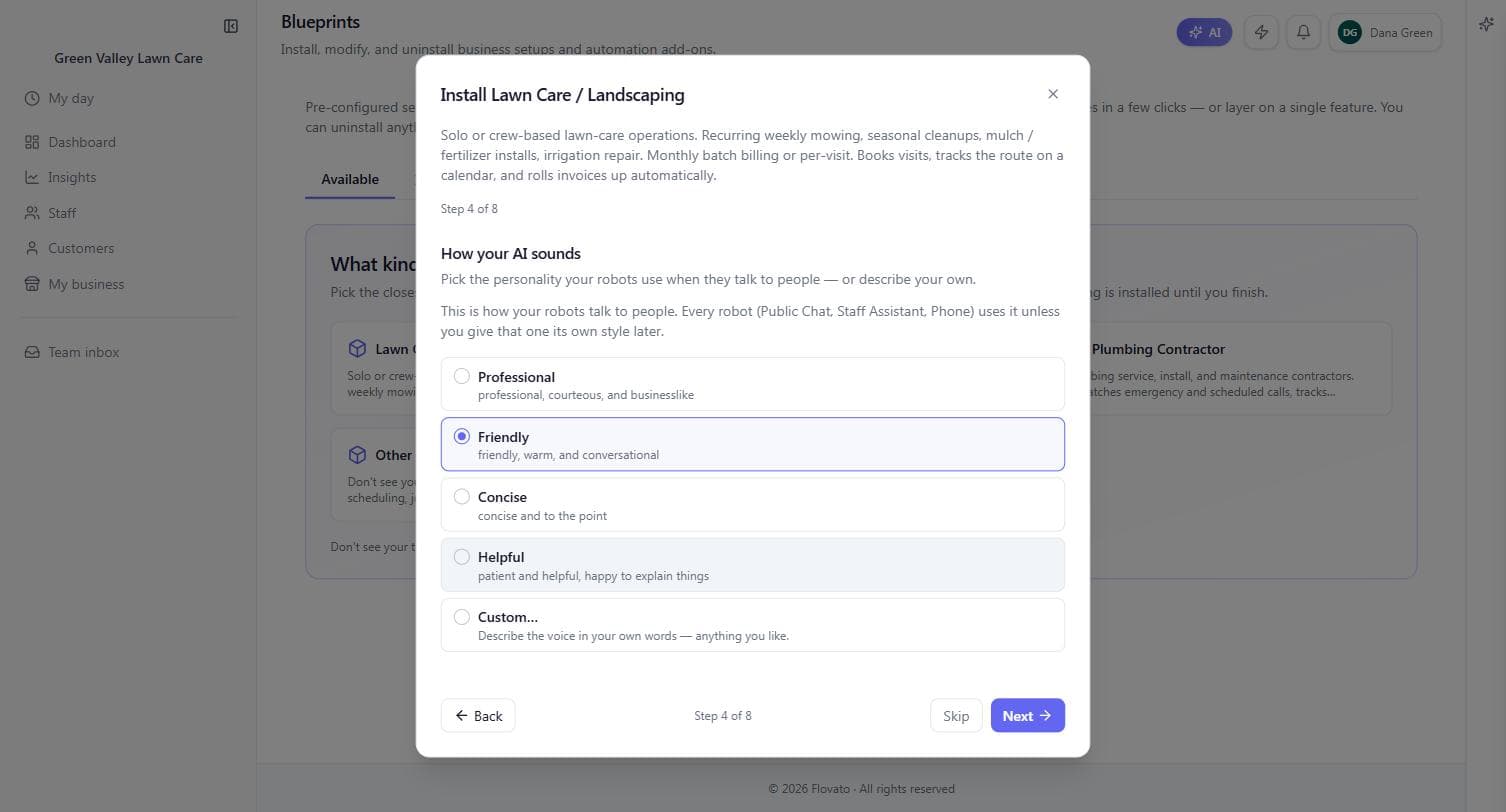
Pick the personality your robots use when they talk to people: Professional, Friendly, Concise, or Helpful — or choose Custom and describe the voice in your own words ("laid-back but knowledgeable, never pushy").
This one choice covers every robot you run — Public Chat, Staff Assistant, and a phone line if you add one later — unless you give an individual robot its own style afterward.
You can hear the difference immediately after setup: open your chat, ask something, then change the personality in My business → General → Personality and ask again.
Step 5 of 8 — Do you work with a crew?
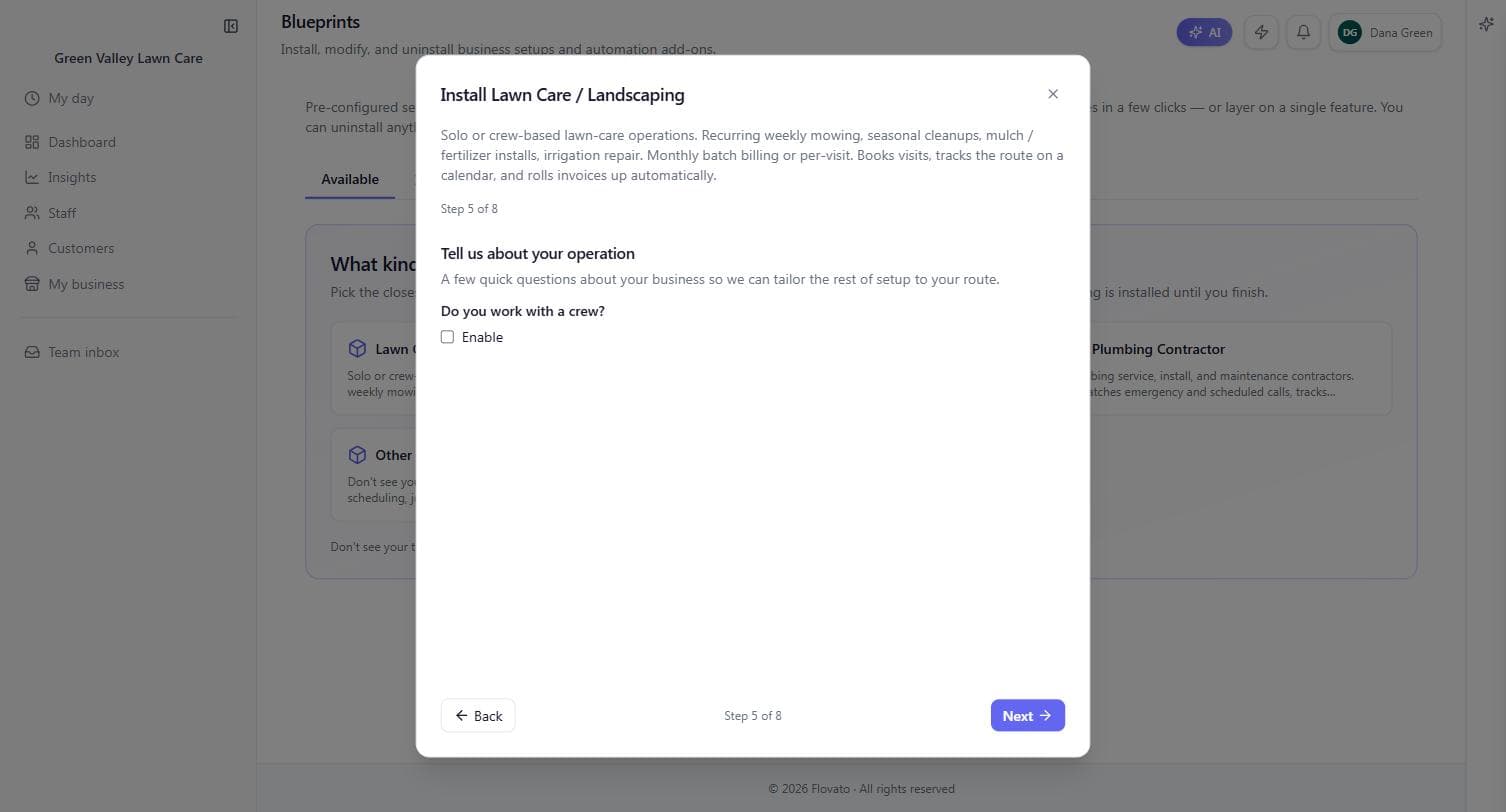
One checkbox, one honest answer about how you run today — not how you hope to run next year.
This is the growth switch, not a fork in the road. Solo today, two helpers in the spring? Add your first crew member from the Team tab whenever it happens and the crew features light up then — same platform from one person to thousands.
Just you: Leave it off. Flovato runs in solo mode and skips the crew machinery — no assignment screens, no empty team views.
With a crew: Turn it on. Setup tailors itself to a crew operation: job assignment, a My Day view for each tech, and crew-aware dashboard cards.
Step 6 of 8 — Invoice numbering
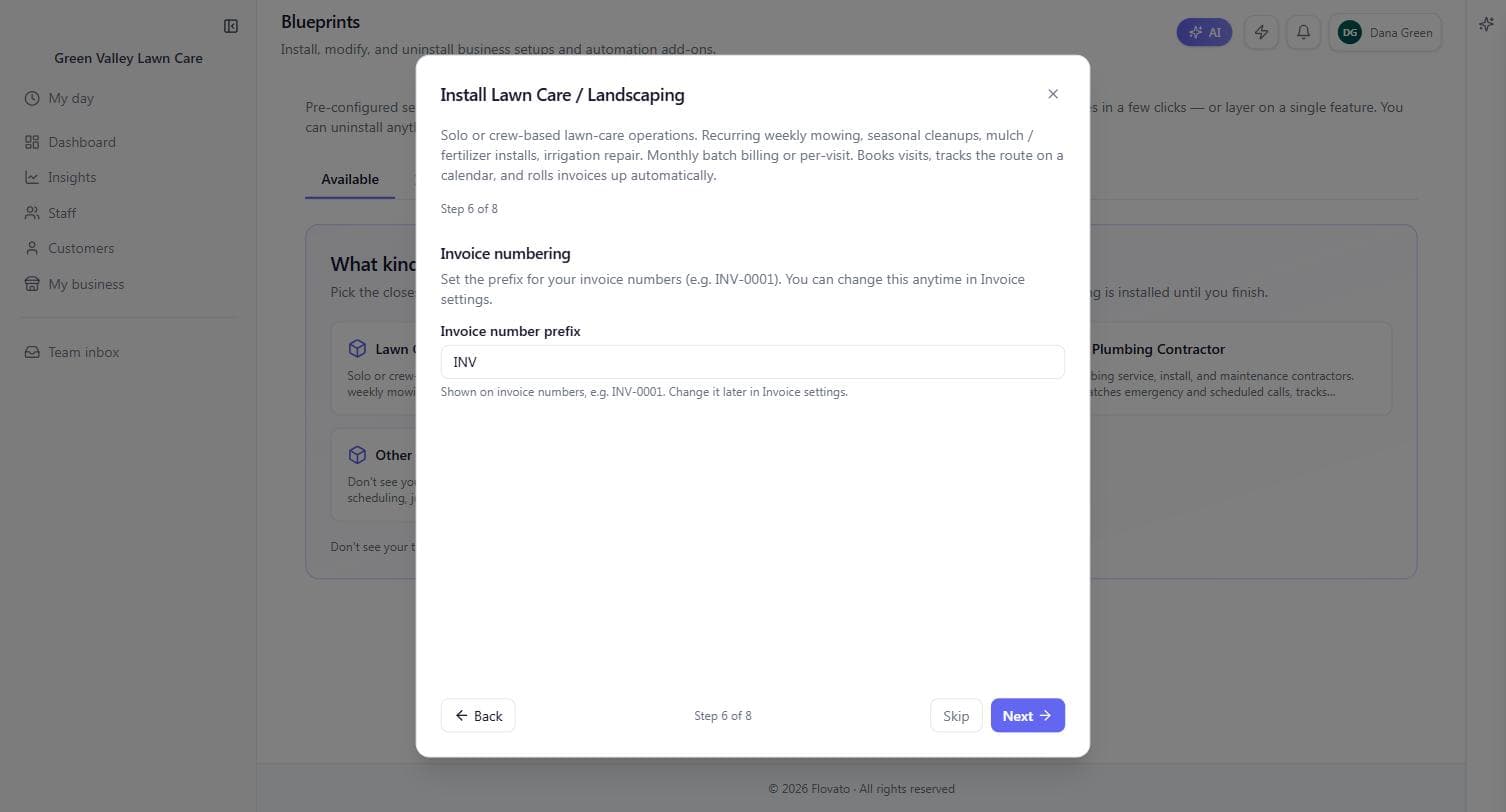
Set the prefix your invoice numbers start with — the default INV produces INV-0001, INV-0002, and so on. If you're coming from another system and want continuity ("GV-" or your initials), set it here.
This is the least consequential screen in the wizard; it's changeable any time in Invoice settings.
Step 7 of 8 — The pricing book
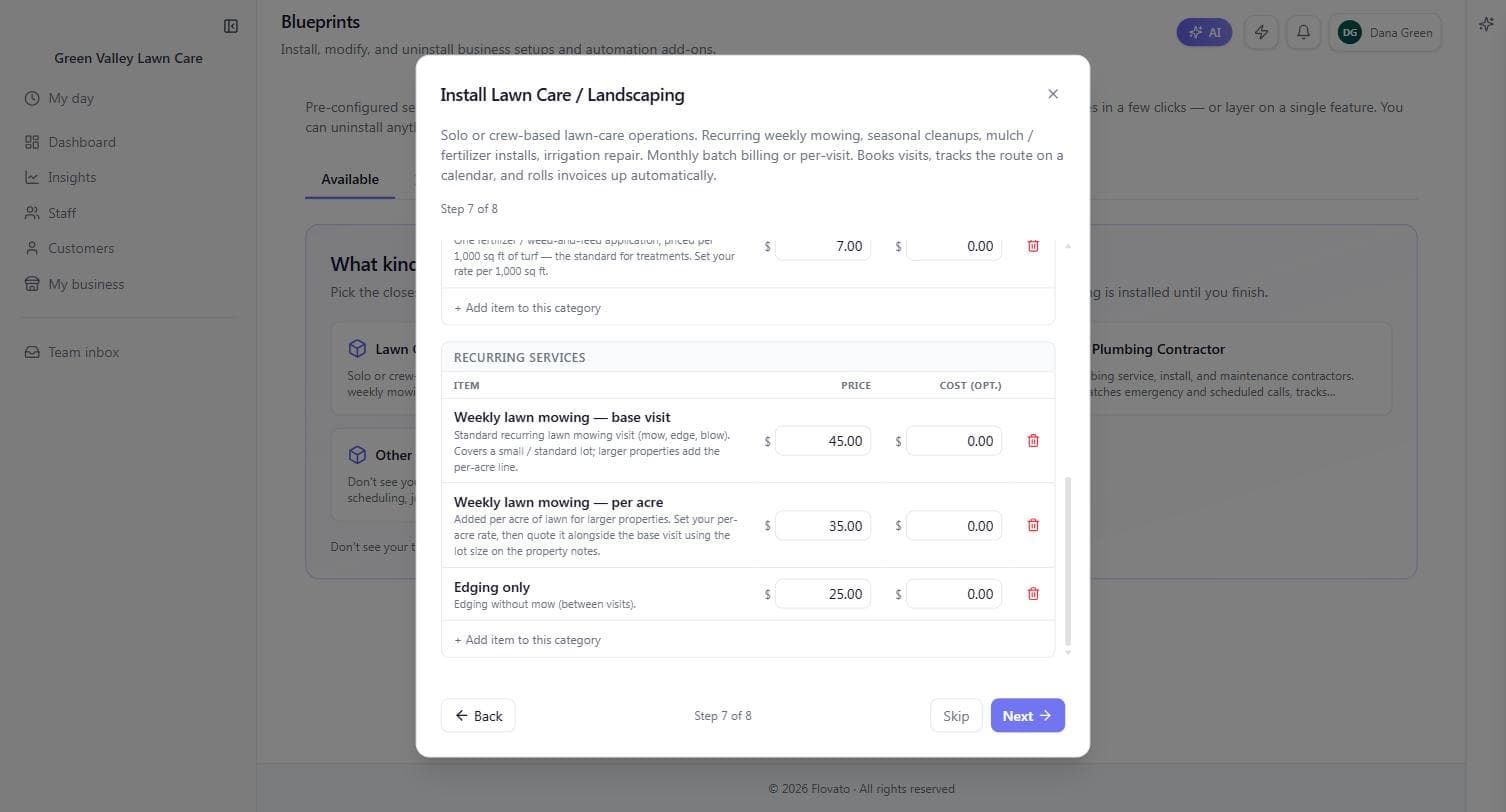
This is the screen worth slowing down for. Your blueprint arrives with a starter price list organized into categories — fees, materials, one-time services, recurring services — and every line has a price and an optional cost.
Price is what the customer pays. Cost is what it costs you (optional — fill it in and Flovato can track your margin per job; leave it at zero and nothing breaks). Each line item also carries a description, and those descriptions do real work: your AI reads them when quoting, so "Covers a small / standard lot; larger properties add the per-acre line" is the difference between a smart quote and a confusing one.
To change a price, click into the field and type — that's it. To add something you sell that isn't listed, use "+ Add item to this category" under the right section. To drop a service you don't offer, the red trash icon removes the line. Whatever this list says when you finish becomes "Your live prices" — the book your AI quotes from and your invoices pull line items from.
Don't aim for perfect here — aim for not-wrong. Fix the two or three prices customers actually ask about, and polish the rest later in My business → Prices & content.
Green Valley's lawn-care book came pre-seeded with weekly mowing at $45 per visit (plus $35 per extra acre), cleanup labor at $75 an hour, and mulch at $95 a yard installed. The only edit it needed on day one was confirming the mowing price.
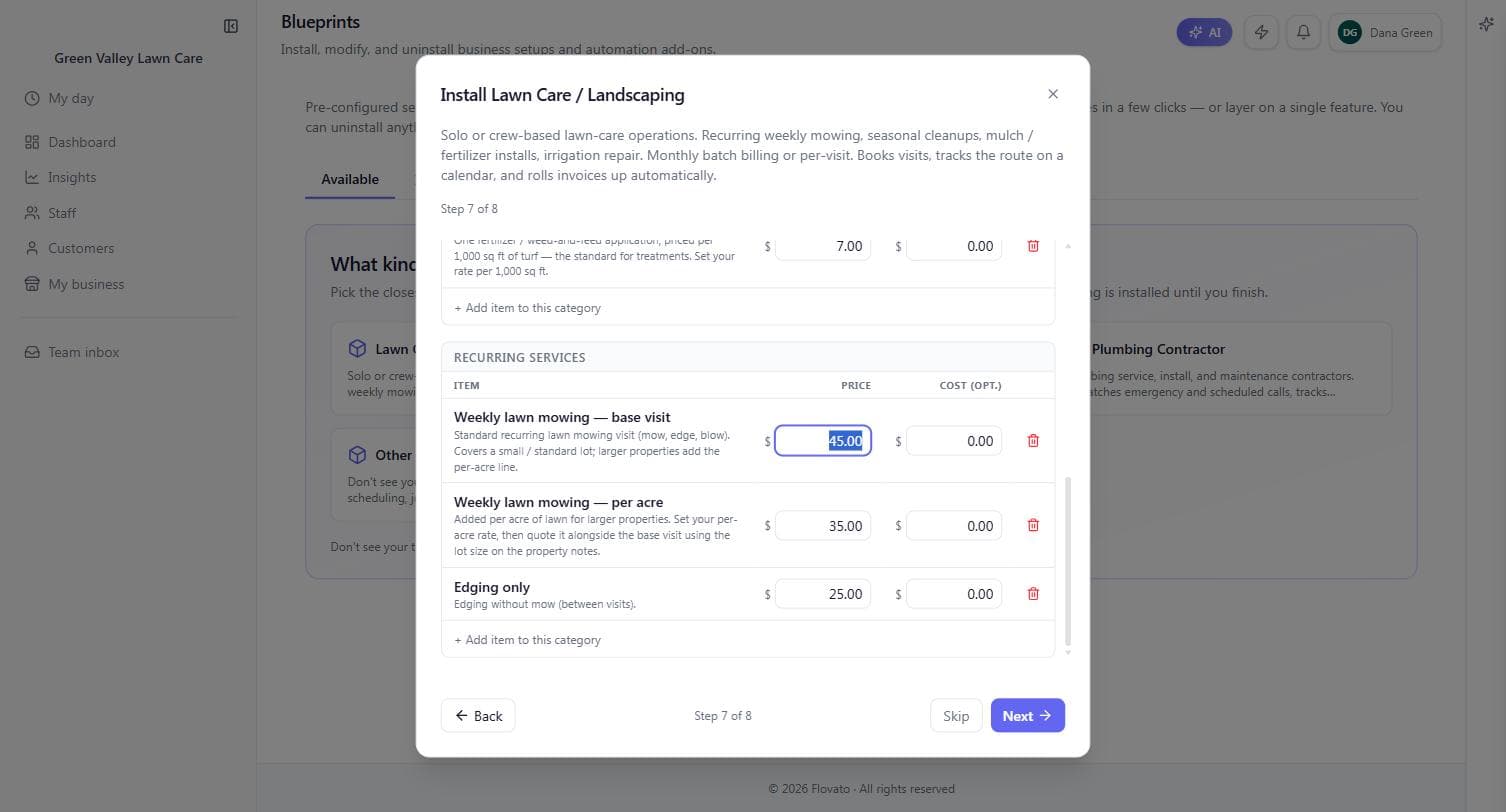
Editing a price, up close
Here's what editing looks like mid-keystroke: click the price, the current value highlights, and whatever you type replaces it. Tab moves you to the cost column; the change is kept with the wizard's state, and it lands in your live price book when you install at the end.
The same three moves — click to edit, add item, trash to remove — are how the full price book works after setup too, so this screen is practice for real life.
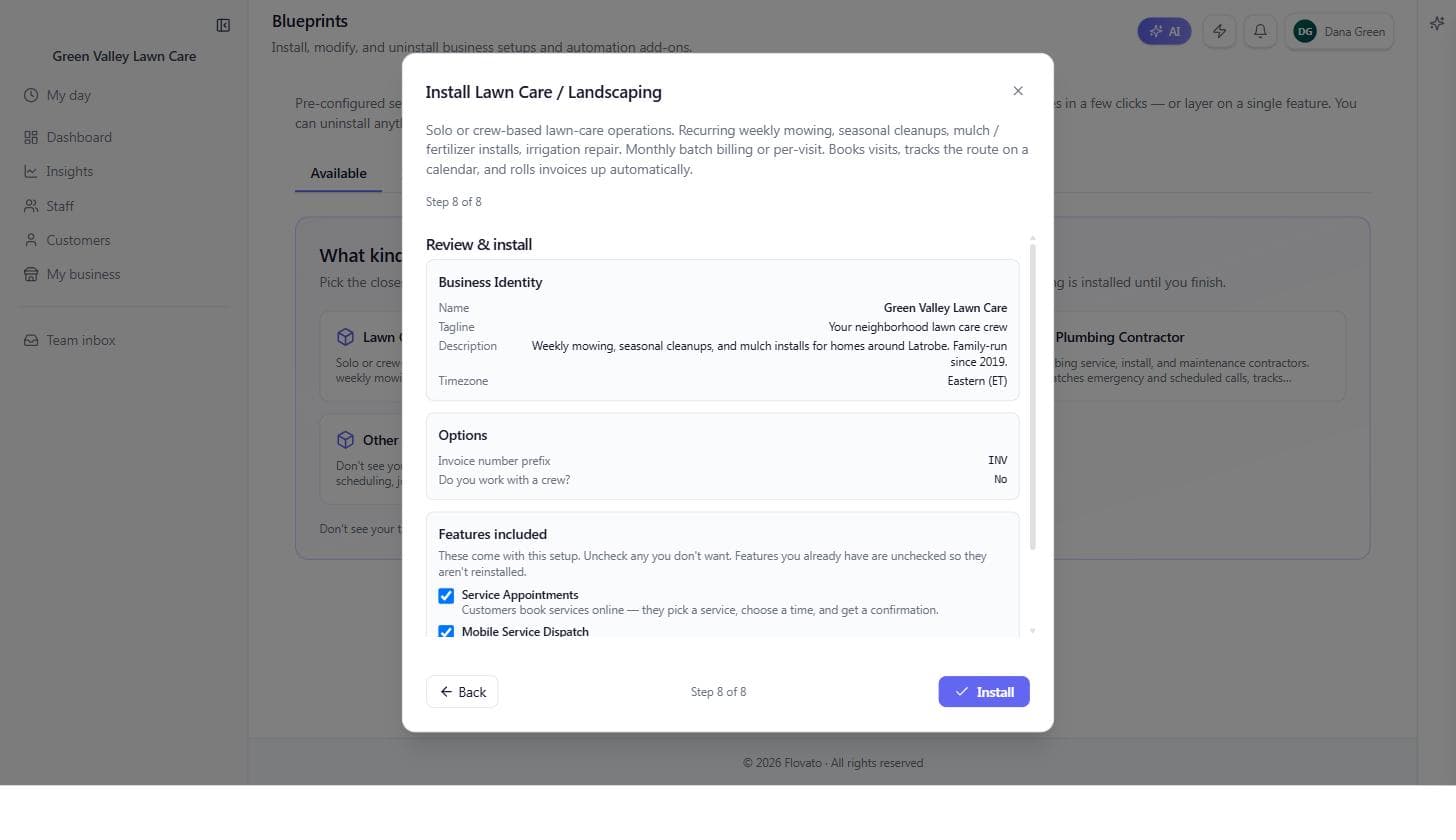
Step 8 of 8 — Review & install
The last screen plays everything back: your business identity, your options, and — scroll down — the full "Features included" list showing exactly what this blueprint will install, each with a checkbox. Uncheck anything you don't want; features you already have show unchecked so they aren't reinstalled.
Read the identity block once (typos here end up on invoices), then hit Install. It takes a few seconds.
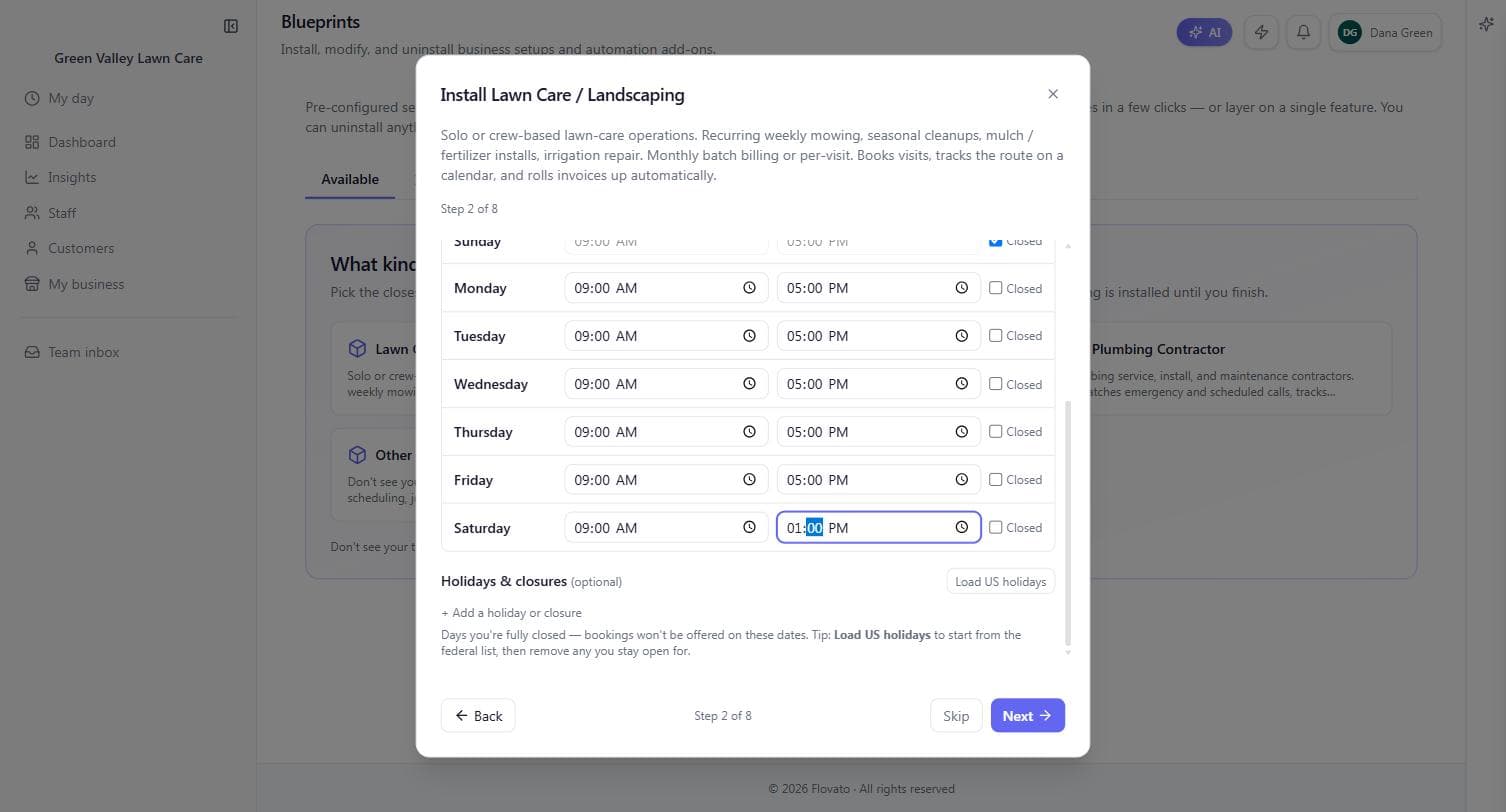
After install — good next steps
The success screen offers a short list of sensible next moves: add your first customer, create a weekly job, open your route board, review your prices, or add a crew member ("skip if you work alone"). Pick one or hit "I'll decide later" — the dashboard checklist will keep track of what's actually left.
And if you ever change your mind about the whole thing: Blueprints stays available in your setup area, where you can modify what's installed or uninstall it — without losing your customers, jobs, or invoices.